Learning Adobe Photoshop CS5 iPad Editions
 |
iPad specific multi-touch ebook versions for Learning Adobe Photoshop CS5 Modules 1 and 2 are available from the iTunes iBookstore and there are sample books on their iTunes pages. The links to access the pages on iTunes are: |
||
Learning Adobe Photoshop CS5 Module 1 |
Learning Adobe Photoshop CS5 Module 2 |
||
Support Files are included with the product. These provide all the images and prepared designs so that students do not need to search for graphics. |
|||
Module 2 Chapter Descriptions
Chapter 1: Introduction to Photoshop CS5
This chapter introduces the Photoshop CS5 basics such as the screen sections, the Tools panel, Zoom tools, the navigation techniques, adjusting workspaces, the screen interface and how to use layers, including how to turn layers on and off, add new layers, delete,layers, name layers, change the layer order and change the layer opacity.
Chapter 2: Selecting parts of Images
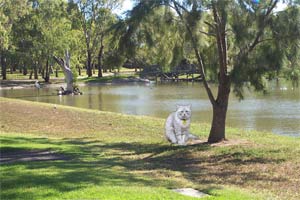
This chapter demonstrates how to select parts of images and photos. This includes using the Edit Marquees, the Lasso tools, the Quick Selection tool, the Magic Wand and the Quick Mask tool which are used to select a cat in one photo and transfer it to another.
Chapter 3: Modifying Images
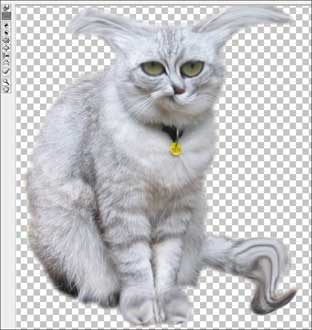
Demonstrates how to apply effects to photos using the Liquify Tool, the Filter Gallery and the Oil Paint Filter.
Chapter 4: Creating a Detailed Sketch
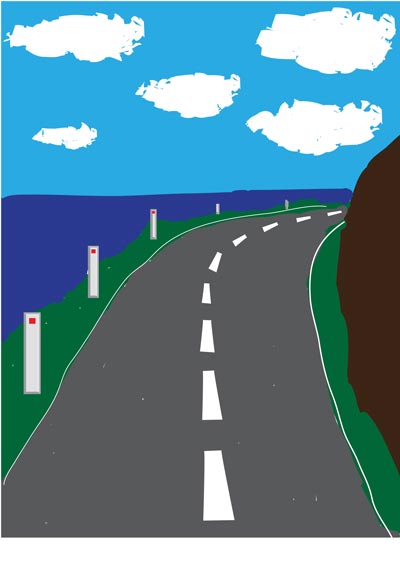
Demonstrates how to use the drawing and painting tools to create the following artwork. The Brush tool is used to create the outline of the sketch, the Paint Bucket tool is used to fill the sections with colour and layers are duplicated and modified to produce the road lines and white posts.
Chapter 5: Drawing Shapes
Demonstrates how to use the drawing tools such as rectangles, ellipses, lines and custom shapes, then adding effects to those shapes. Students are shown how to combine photos with shapes, for example, placing a photo within a frame shape.

Chapter 6: Adjusting Shapes
Demonstrates how to combine shapes and photos together to create designs. As an example, students are shown how to magnify a cat's head then draw a magnifying glass over it.

Chapter 7: Adding Text to Designs
This chapter shows students how to enter text and apply effects to that text such as colour, text warp, style effects, 3D effects, typing text along a path and more detailed text formatting. Text is then added to photos and images, for example the following poster is created:

Chapter 8: Adjusting the Look of Images
Shows students how to edit and improve photographs using the many tools that Photoshop provides. Some of the tools used include the Blur tool, the Sharpen tool, the Smudge tool, the Sponge tool, the Dodge tool, the Burn tool, Gradient Fills, the Red Eye Reduction tool, Brightness/Contrast Adjustment layers, Colour Balance Adjustment layers and removing background tools.
Chapter 9: Combining Photographs
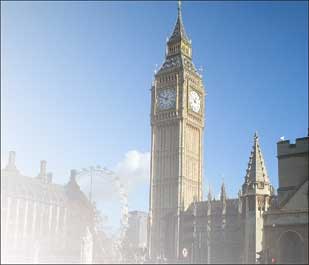
Demonstrates how to use the Photomerge tool to combine multiple photos. Students are then shown how to adjust the combined photos to improve the panoramic effect.

Chapter 10: Creating Clipping Masks
Introduces students to the concept of masks so that just wanted parts of images are displayed. Different types of objects are used as masks, including marquee selections, custom shapes and text.

Chapter 11: Creating 3D Shapes
Introduces students to the preset 3D tools that Photoshop provides to create 3D shapes from layers and the Repoussé tools to convert custom shapes into 3D objects. Creating 3D text is also covered.
Chapter 12: Saving Files
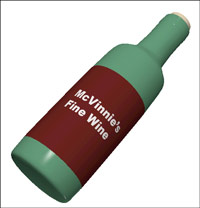
Students are shown a variety of different ways Photoshop documents can be saved and exported, including saving TIFF files, JPEG and GIF formats, the Save for Web command and saving individual layers.
Project 1: Create a Poster
The Multi-user version provides a project that gets students to apply the Photoshop skills that they have developed to produce a poster on a topic of their choice
Module 2 Chapter Descriptions
Chapter 13: Patches and Healing Brushes
Students are shown how to repair scratch marks and to remove an object (a cat) from the front of the car using the Patches tool and the Healing Brush tools. A sticker is removed from the front of the car and other scratch marks are repaired

Chapter 14: Cloning Images
The same car from the previous chapter is repaired using the Clone Stamp tool. The car is then cropped to straightened it and to remove parts of the background.

Chapter 15: Adjustment Layers
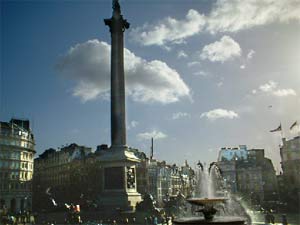
The applications of Adjustment layers are demonstrated to improve the appearance of photographs. The examples covered are Exposure layers, Levels layers, Brightness/Contrast layers and Black & White layers. For example, dark buildings in a photo are lightened whilst maintaining the original sky colour.
Chapter 16: Refining Edges
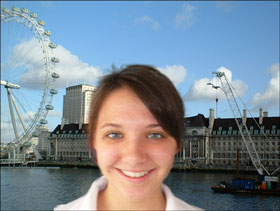
This chapter demonstrates how to use the Refine Edge dialogue box to accurately make selections of objects in a photo, in particular how to select fuzzy areas such as people's hair or animal's fur. The edge detection brushes and colour contamination tools are used to select a girl from one background and place her over another.
Chapter 17: Applying Filters
Filters including Motion Blur, Gaussian Blur, Reduce Noise and Sharpen are applied to a photo to improve it. The use of Smart Filters is demonstrated which allow applied filters to be edited at a later date and lighting effect filter is applied to the image, then edited.

Chapter 18: Advanced Layer Uses
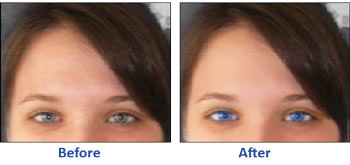
This chapter demonstrates how to use layers to enhance the photograph of a face, including softening skin tones, whitening teeth, highlighting eyes and changing eye colour.
Chapter 19: Applying Artistic Filters
Demonstrates how to use the filters within Photoshop to create artistic sketches. A shipwreck viewed through the porthole of another ship is created.

Chapter 20: Artistic Brushes
Demonstrates how to use the different brushes that photoshop provides to create artwork. The difference between Regular brushes and Bristle Tip brushes is demonstrated and students practice using brushes by colouring in the following image.

Chapter 21: The Mixer Brush
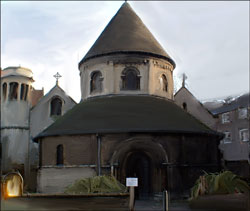
Demonstrates how to use the Mixer Brush tool to mix brush colours and canvas colours. Students use the Mixer Brush tool to convert a photo of a 1000 year-old church into artwork.
Chapter 22: Working With Perspective
In this chapter students are shown tools that allow the editing of photos, whilst maintaining the 3D perspective of the photo. The Ruler tool, the Lens Correction filter and the Vanishing Point filter are used to straighten images and remove shadows from the following building.

Chapter 23: Colour Adjustments
Students are shown some of the professional colour adjustment tools that Photoshop provides to repair the colour in poorly taken photos. The Match Colour tool the Vibrance tool and the Curves tool are used to repair the following photo of a building which had a bluish tinge to it.

Chapter 24: Animations
This chapter shows students how to create QuickTime
Movies, Flash Video and Animated GIFs within Photoshop. A time-lapse
photography animation and the following animated logo for a decorating
company are created. 
Chapter 25: Useful Tools
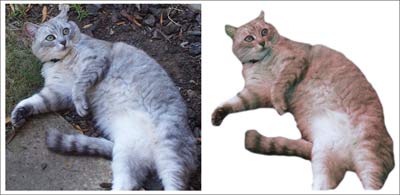
To complete the module some of Photoshop's handy tools are demonstrated, including the Magnetic Lasso tool to select objects within a photo, the Puppet Warp Tool, the Replace Colour tools the resize image and canvas tools and the Content Aware Scale tool. The following cat is selected from a background then recoloured and resized.
Project 2: VicSports
The Multi-user version provides a project that requires students to create two pages for VicSports, a government organiisation set up to promote sport in schools. Students are required to produce the first page of a web site and an advertising collage poster.
| Home | Products | iPad | Downloads | Testimonials | Ordering | Contact Us |